
Today I built the table for the new Pygmy Pinguino 145 that I'm building for a family friend.
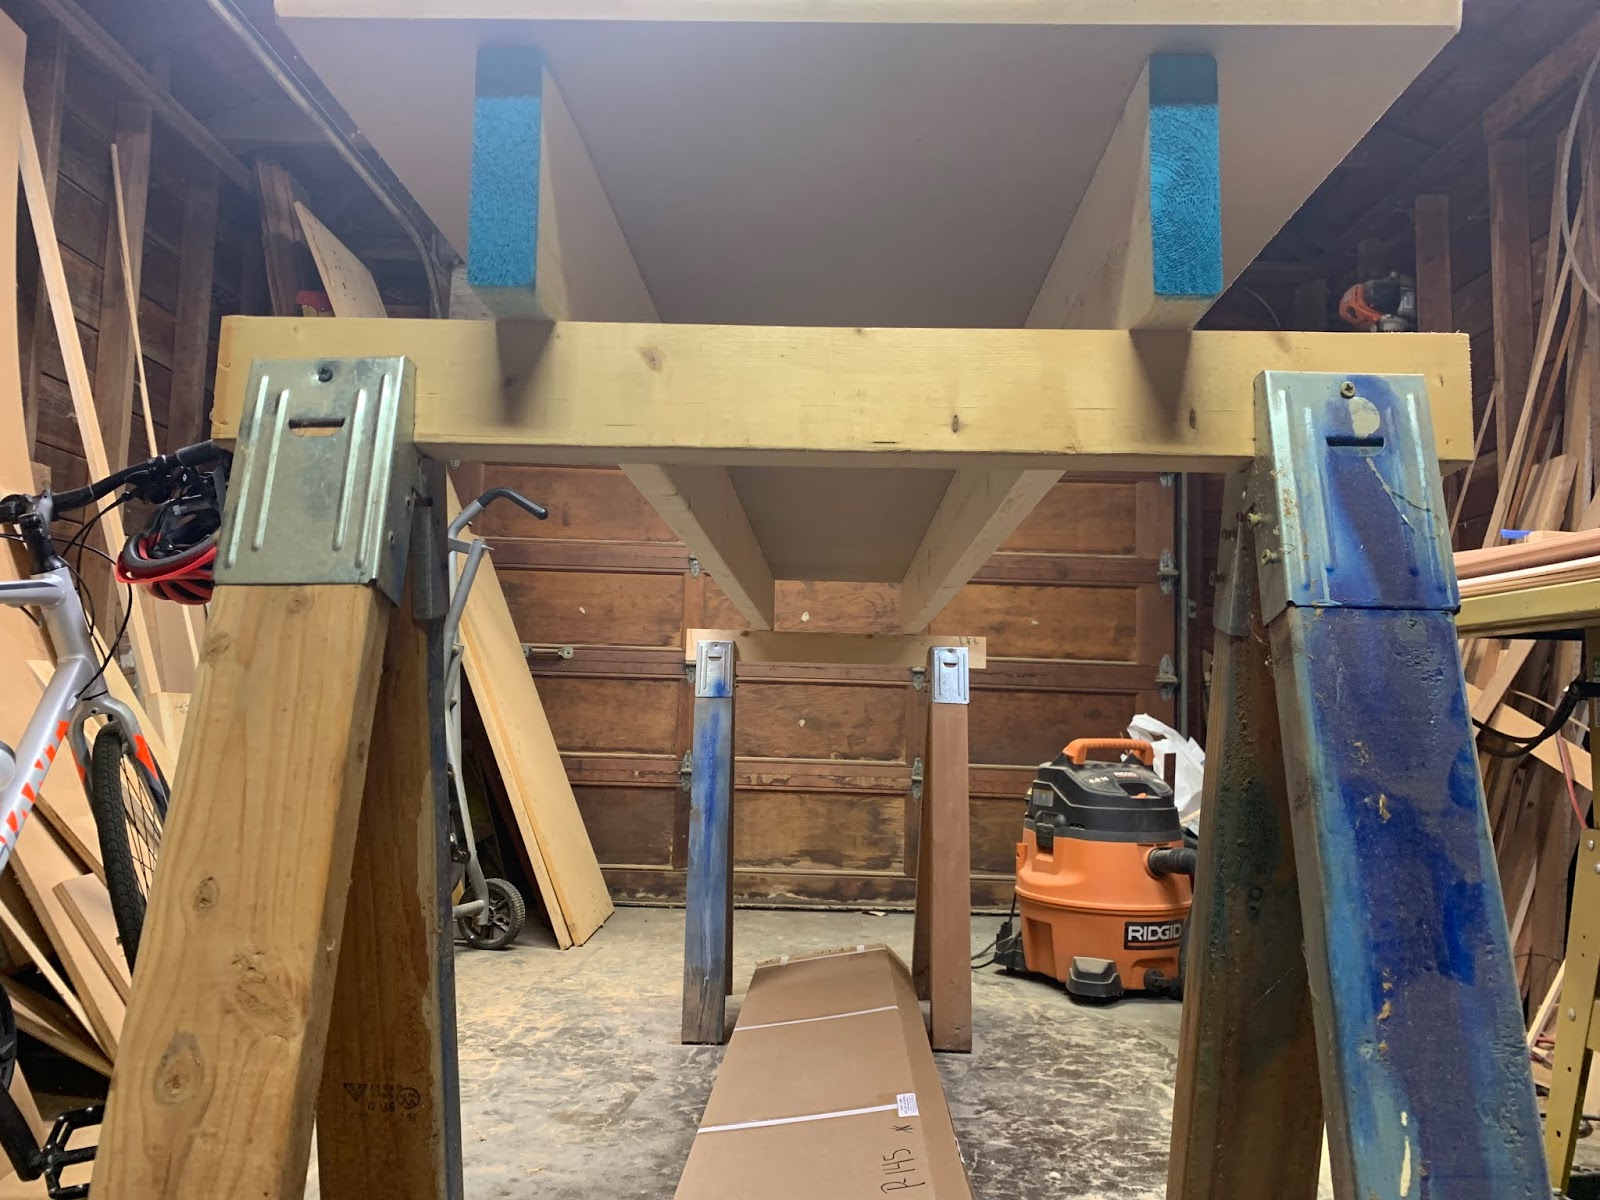
It's just two sawhorses with short pieces between the legs. On top of that are two 2" x 6" x 8' studs that I selected for being especially flat on edge. If I had a jointer I'd run them both through it to make sure the edges are flat... but I don't have a jointer.


Then I laid a 2' x 8' x 3/4" sheet of MDF on top of the studs and screwed them down. I got lucky because to my eye the table appears to be pretty flat which the one thing you must have. It doesn't matter too much if it's not level, but it must be flat across the entire surface.
Then I opened the main box and sorted out the panels. The manual says to start gluing the panels together starting with panel 1 and working to panel 6. It also says to do one side at a time. However, that isn't helpful with the steps that come later and you'll end up moving the panels around too much. So I'm gluing them in reverse order and both sides at the same time. For example; I'm gluing up both the left and right #6 panels and setting them aside. Then I'll do both #5's, then #4's and so on. When I'm done I'll have the two completed #1 panels on top of my stack ready to go with minimal moving of them.
These two #6 panels are just laid out but not glued yet. I'll start gluing later this week.


NOT IN THE MANUAL STUFF: Since I also have to park my table-saw to the side of the garage, I went ahead and cut my spacer pieces that will be used later on. You will need three spacer pieces if you're going to build your boat upside-down WITHOUT using the wires to sew the panels together. I'll be taping this boat instead. There will be NO HOLES in this boat! But the manual still has you sewing the boat together with wires and a billion holes. This will look much better.
IF you're going to build your boat with the taping method instead of wires, then you'll need to contact Pygmy and ask them to send you their "Class Manual" that has the measurements for the three space pieces for the model boat you're building. You'll also need to read online, or on this blog and other blogs, about how to tape a boat instead of sew it. The big change is that you will build the boat upside down similarly to how many other boat are built. If you follow the manual you will build it upright.
More later once I get to gluing the panels together!
Cheers!
Comments
Post a Comment