
For the past week (yes, WEEK!) I have been working on the outwales and spacered inwales. The inwales and outwales are such an obvious part of the boat that you really want them to look as good as you can possibly make them. And doing that takes a lot of time and patience.
The spacered inwale kit is an addition to the basic wherry kit. The kit includes the OUTwales, but does not come with INwales. We like the look of the spacered inwales and find that they have some function too for securing things to the hull. They look nautical.

The spacered inwale kit comes with inwale rails, sticks you cut to make the spacers, a replacement breasthook for the bow, and replacement quarter knees for the transom.
They leave it up to you for how long to cut the spacers and how far apart to space them. The manual that comes with the kit is extensive.
I like the look of rounded spaces. No, it's not the normal look of spacers which are supposed to simulate the ribs on a wooden framed boat. To make the rounded space look, I had to use a router fitted with a 3/16" radius (3/8" diameter) router bit, and then run the ends of each spacer through the router. To do so safely and efficiently, I had to make a jig to hold the spacers. Once I got it dialed in, it went ok.


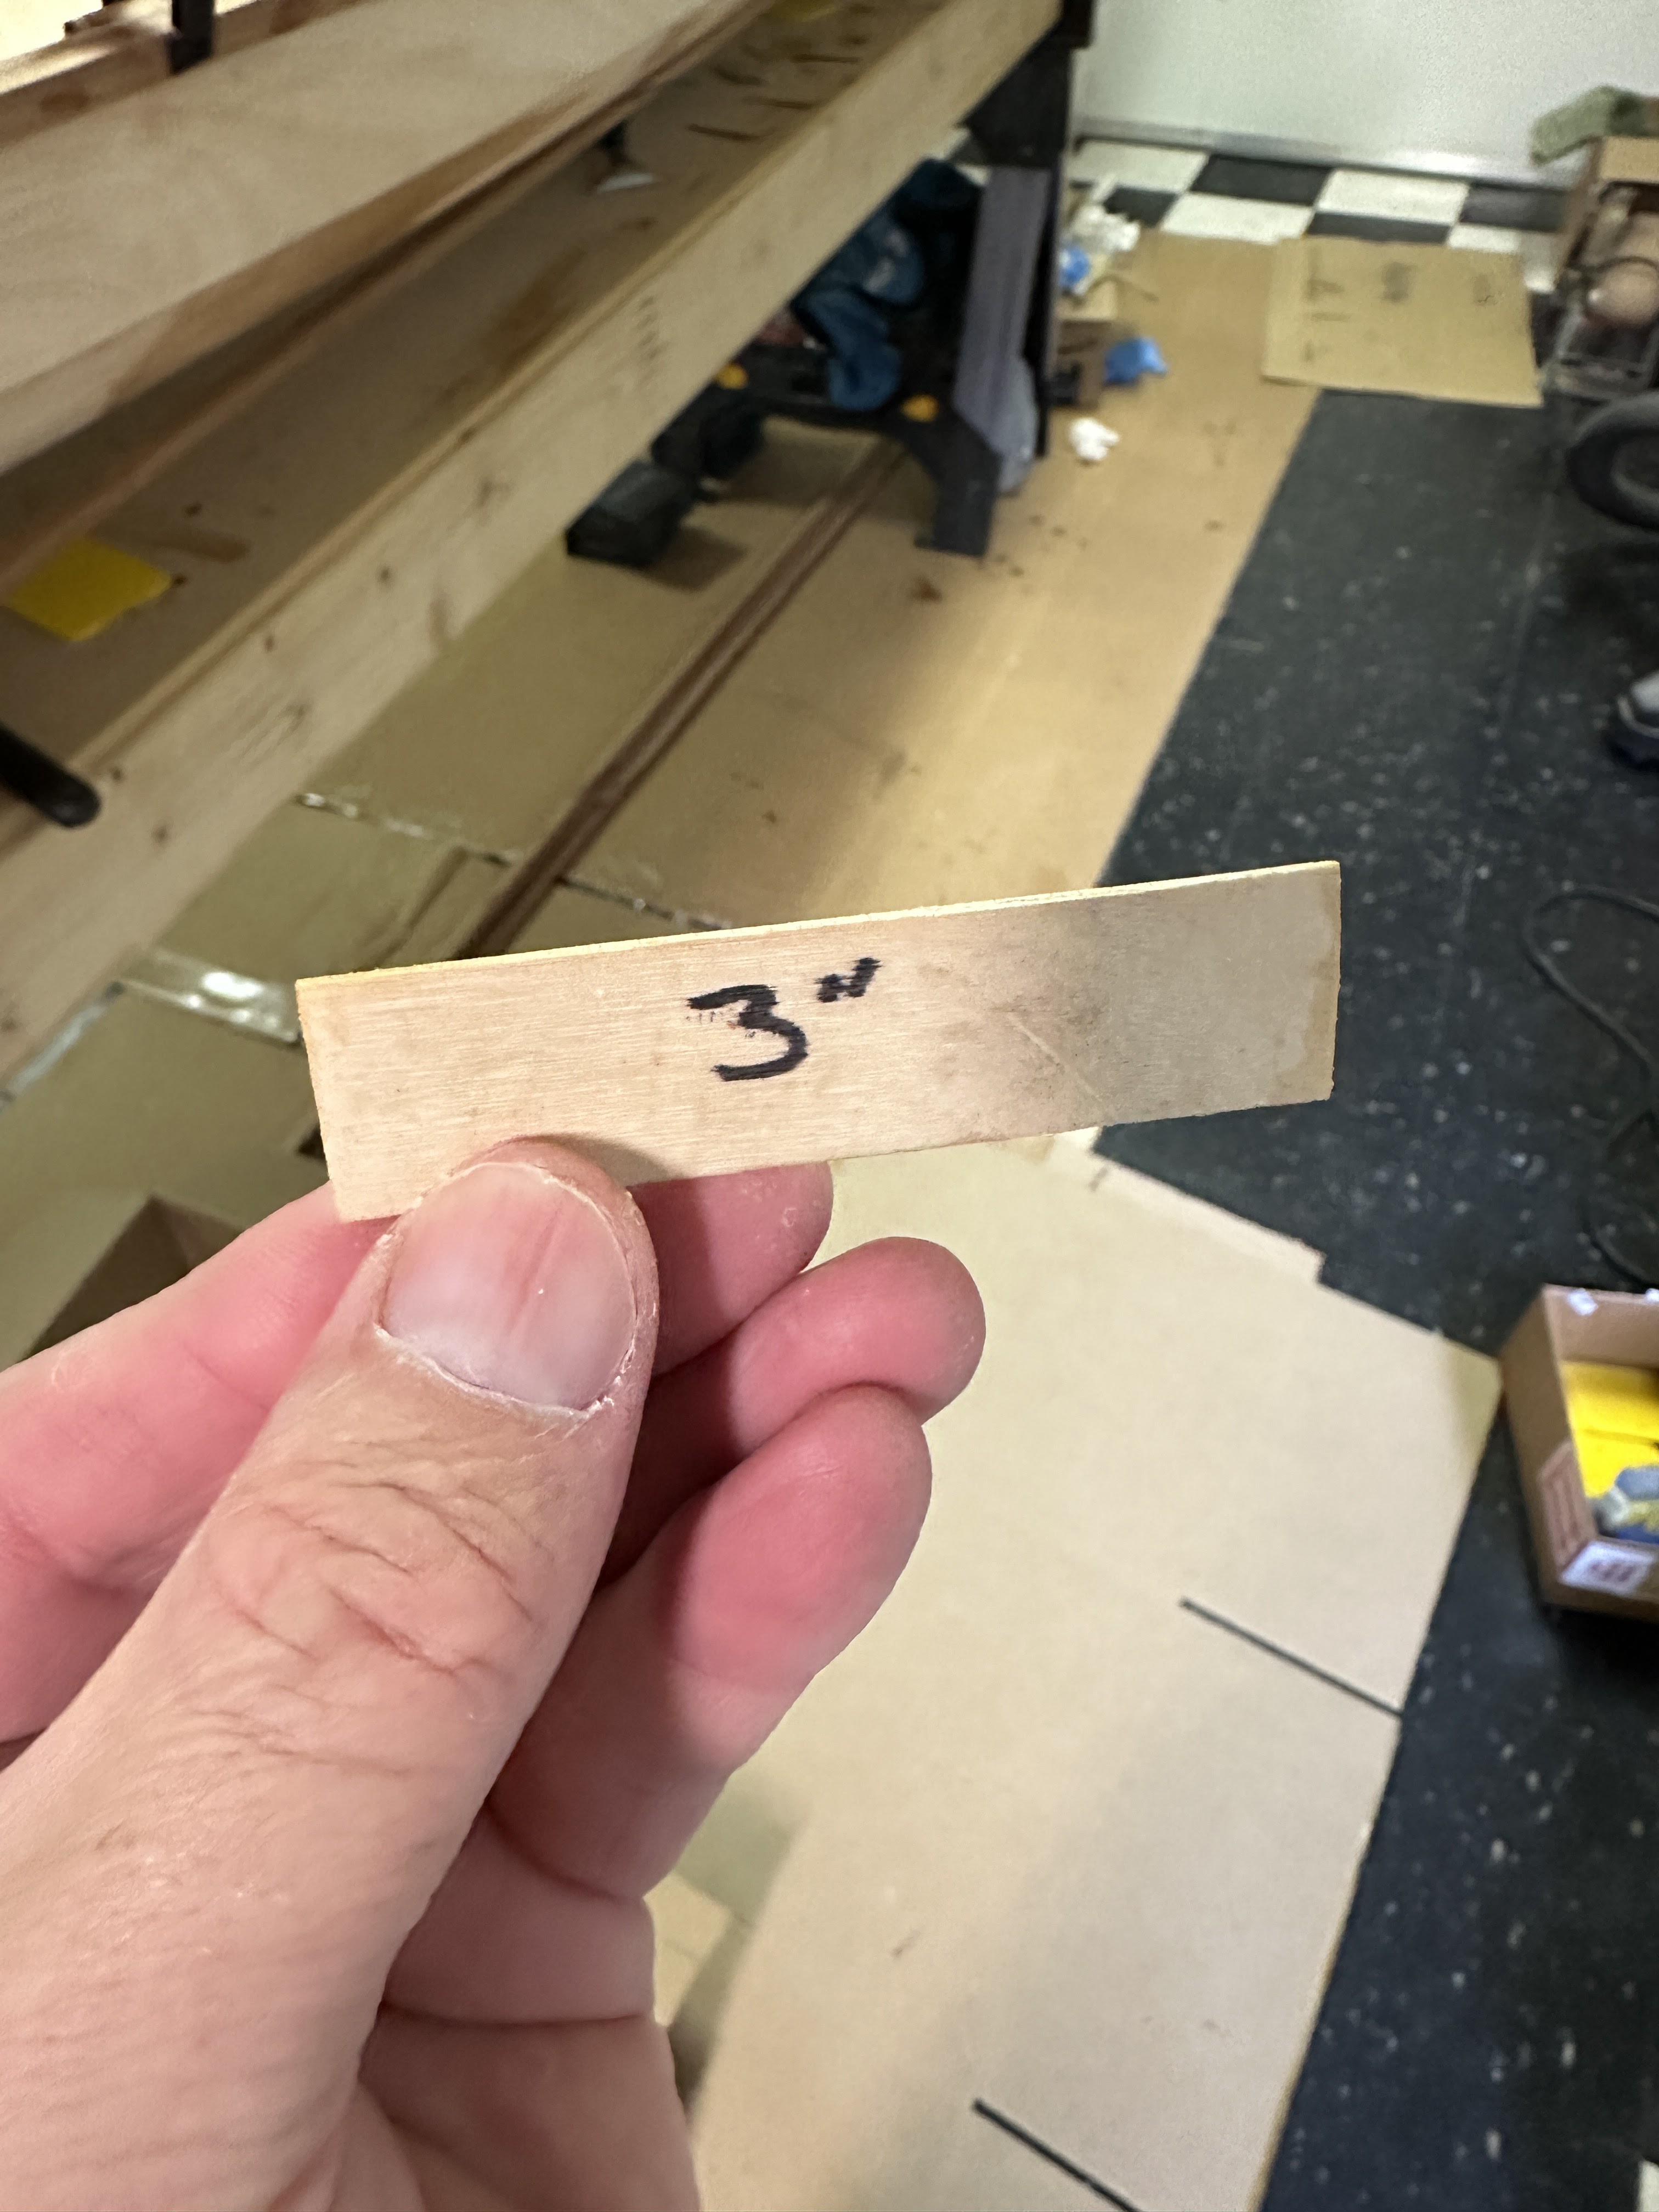
I wanted to cover the tops of the two bulkheads, I had already trimmed before even installing them three weeks ago. Pre-trimming the bulkheads worked out well. We wanted to use 3" spacers with a 3" space between each spacer. I started at the forward bulkhead and taped a spacer over the top of the bulkhead. Then I used a 3" measuring stick and working aft I taped on each spacer with blue tape so that each spacer could swing up to be epoxied later.
As luck would have it, the 3" spacing worked out perfectly and the aft bulkhead was covered right in the center too. Perfect!
From there I taped the spacers forward and aft until I reached the bow and stern. I had to cut a spacer short at the bow. At the stern, there is too large of a space but I filled the end with a cutoff spacer and it will look fine.

All the spacers have been taped on at 3" apart.

The blue tape holds the spacer in perfect alignment forward and aft, but also allows the spacer to be swung upwards so that I could epoxy the spacer and hull. It then swung back down and I could clamp it. Easy!

All the spacers are epoxied and clamped. Phew!

The next day I carefully sized and practice clamped the inwale rail. Once happy with the fit, I then epoxied it in place and let it cure for 24 hours.
It's hard to see, but this is the bow treatment so far. Keep in mind that there is still one OUTwale rail to be installed later.

Here is how I did the aft spacers. That last space is longer than the 3" but it looks fine.

Here's an idea of what it will look like later.

After finally gluing on the final outwale, it was then time for sanding, routing, and sanding again. In total, I probably worked on sanding the inwales and outwales at least four hours, probably more.
The first step - sanding flat: The first sanding is to shape the rails flat on top with a sander so that the rails are all at the same height. I used a vacuum sander with 60 grit paper to really grind away at it. Pay attention and go slow. Don't linger in any one area!
Here you can see the port side has been sanded. The starboard hasn't been sanded yet.
PRO TIP: IF you use the spacered inwale kit, you get a different breasthook than in the regular kit. It's in two pieces and gives the breasthook some height which you can then shape to blend with the rails. Do NOT sand it flat!


The second step - routing: The next step is to route the edges. I used a 1/4" roundover router bit. If you're careful, and go very slow, you can route the top edges of the inwales and outwales. You can also route the bottom edge of the outwales if you hold the router pointing away from you and slowly walk the router along the bottom edge.


Sanded and routed. The bottom edge of the inwale can't be routed so you'll need to use a rasp and sandpaper to at least soften the edge.
The third step - sanding again: The final step before epoxy coating is another sanding. The 60 grit paper you used leaves a very rough surface. I hand sanded with 120 and then 220 to remove the rough stuff.

Epoxy coating: When you are finally happy with the rails, it's time to epoxy coat them. You'll do two coats with sanding after each coat.
Running some wide masking tape helps with cleanup.

Here is one of the quarter knees after epoxy coating. You can also see the treatment I did with the outwales.


I'm really liking how the spacered-inwales look! The dark inwale and spacer against the lighter color of the hull panel really looks great. I've always been a sucker for multi-colored woods used together.

I will sand the rails smooth after it cures and then brush on a second coat. That will be sanded too to prepare for varnish later on.
Doing the rails took almost a week, but it's an important part of the boat and everyone notices them. You want them to look great.
More later. Stay tuned!!
Comments
Post a Comment