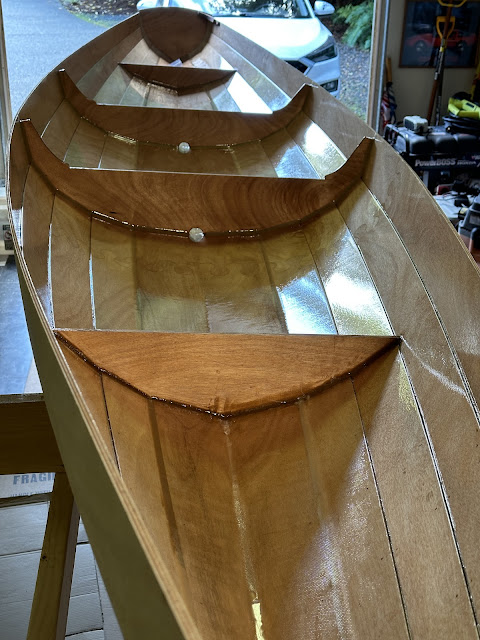
Today I sanded out the entire inside of the hull again, and epoxy-coated the entire inside, again. Phew.
Here's how it looked at the end of the day.
First I used a cabinet scraper to cut down the really big fuzz that is created when you epoxy bare wood. I used it on the entire hull because it's a great tool for finding raised epoxy bits too.
Then power-sanded where my 6" sander could reach. I hand-sanded the rest using a foam block with 80-grit sticky sand paper backing. I buy the rolls of sandpaper. The sticky back works really well.
Then I used the cabinet scraper again to cut off the tall scratches that the 80-grit paper leaves. This gave a nice surface for the epoxy.
Here's a close-up of how it looked after sanding.
Then I epoxy coated the entire inside again.
I mixed up about 10 pumps of epoxy and poured it along the keel in the second section (I'm not epoxy coating the fiberglass again in the bow and stern... will leave the weave rough in those areas).
Using a spreader, I brought the epoxy up to the edges on one side and then back down and up the other side.
Once fully covered, I then used a roller to even out the coat in that entire section. When the roller got too loaded I used it on the bulkheads and on the top three planks in the bow section.
Next I used a foam brush to coat the fillets and to squish out the excess in the seams.
Then the roller again to even out what the brush squished out. If really needed, I used the scraper to bring up some excess if there was just too much and scraped it into a cup.
Checked for runs and drips and goofs as best I could.
Finally, when happy enough with the coat, I used my propane blow torch and waved it over the surface to pop bubbles and to help it flow. Be sure to keep it moving!!
Then on to the next section.
The sanding took twice as long as the epoxy coating. Ugh...
Here's how it looks.
After an hour or so, you can really see the epoxy tighten up. It looks much smoother than the first coat.
When cured, I will sand it again with using 120, then 220, then 320 so that it's ready for varnish in a month or so.
Stay tuned!


Comments
Post a Comment