
Inside of Annapolis Wherry Epoxy Coated

Yesterday I brushed on a coat of epoxy into all the seams on the Annapolis Wherry. I then wiped the planks down to get rid of any drips but made sure to allow epoxy to settle into the seams. 

Today I gently hand-sanded the seams just to rough up the epoxy so that the next coat would stick. 

I then epoxy coated the entire inside of the hull. Remember that I had already sanded the fiberglass on the bottom two planks and they were ready to go. 

This coat was to add a second coat to the fiberglass to start to fill the weave, and to add a first coat to the bare wood on the upper three planks on each side. 

I used three tools: An epoxy spreader, and 3" roller with an Wooster Tiz epoxy roll on it, and a 2" foam brush. 

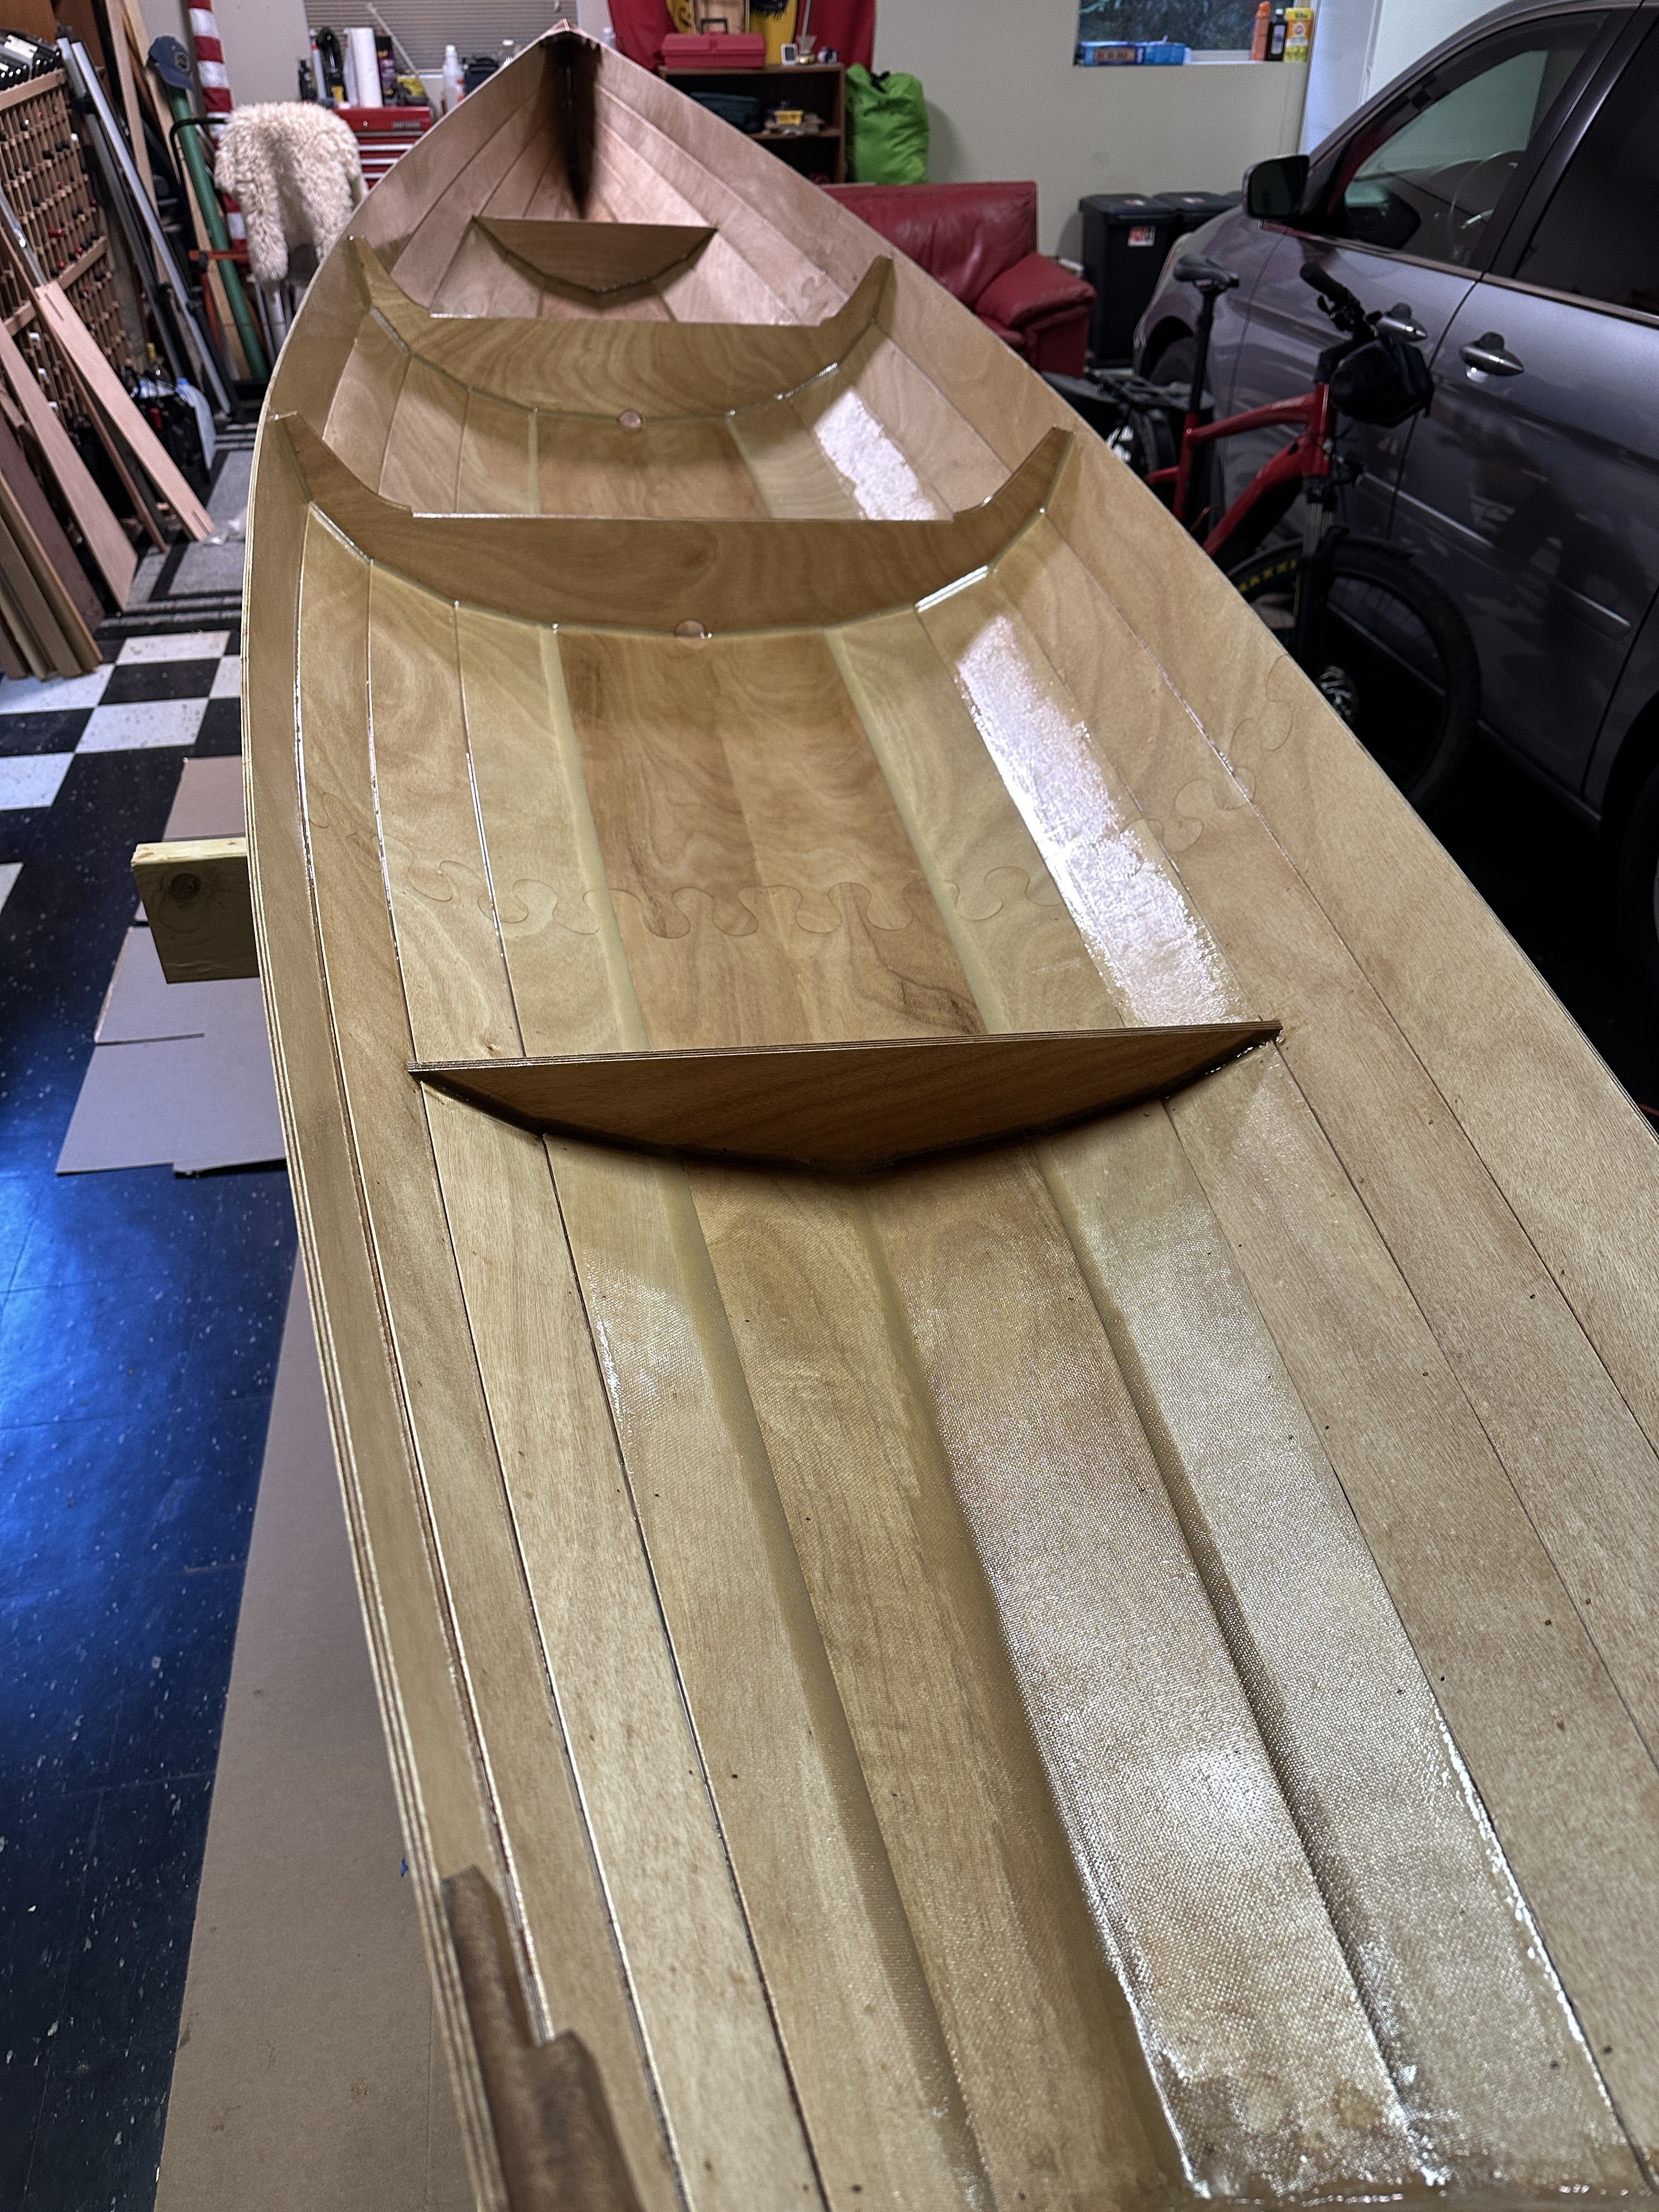
The Annapolis Wherry is an easy one to epoxy coat because the boat is neatly divided into five separate sections. That way you can completely take care of one section without feeling like you have to rush to the next one. 

I did one section at a time. 

First I mixed up about ten pumps of epoxy and poured it into the second section back from the bow. I used a spreader to pull the epoxy up from the keel to the sides making sure that the sides got nicely coated. 

Then I used a roller to even out the epoxy and to spread it to the top three planks in the bow section too. I was also able to bring a lot of epoxy up the other side. 

I made sure to coat both sides of the bulkheads too.

Next I mixed up 4 or 5 additional pumps, just enough to do the what remained on the other side. Rolled that out evenly too. 

Finally I used a brush to coat the fillets and to make sure the seams were even coated. 

I did touch-ups with the roller and brush until satisfied. 

Then moved on to the next section. It went really easily actually. Here's how it looks now.


Tomorrow I will lightly sand the entire inside just to rough it up so that the next coat of epoxy has something to latch onto, and then do another coat. That will be the third coat on the bottom planks and second coat on the top three. 

Hopefully the weave will be completely covered, although I think I may have sanded to aggressively at first and I might be able to see the glass a bit through the epoxy. Oh well...

Then another sanding to prep for varnish later. 


Stay tuned!


Comments

Popular posts from this blog

Annapolis Wherry Spacered Inwales Installed

For the past week (yes, WEEK!) I have been working on the outwales and spacered inwales. The inwales and outwales are such an obvious part of the boat that you really want them to look as good as you can possibly make them. And doing that takes a lot of time and patience.  The spacered inwale kit is an addition to the basic wherry kit. The kit includes the OUTwales, but does not come with INwales. We like the look of the spacered inwales and find that they have some function too for securing things to the hull. They look nautical.    The spacered inwale kit comes with inwale rails, sticks you cut to make the spacers, a replacement breasthook for the bow, and replacement quarter knees for the transom.  They leave it up to you for how long to cut the spacers and how far apart to space them. The manual that comes with the kit is extensive.  I like the look of rounded spaces. No, it's not the normal look of spacers which are supposed to simulate the ribs on a wooden...

Outwales, Inwales, and Dyed Seats on Annapolis Wherry

For the past few days I have been tinkering on the outwales, spacered inwales, and the seats/thwarts.  At the Port Townsend Wooden Boat Festival this year, I saw another Annapolis Wherry that had a lovely bow treatment along the outwales at the bow. Instead of ending the outwales near the bow, this builder brought the inwales all the way around the bow. I'm trying to do the same thing, although I think that other builder is a better woodworker than I am, based on how it looks so far!  I used screws to temporarily hold the assembly in place while the epoxy cures. They have now been removed.  The assembly is made up of cutoffs from the inwales and outwales. I screwed up on one side but luckily had enough cutoffs to make another one. The center accent strip is Alaskan yellow cedar. It will look a lot better once it has been shaped. I'll do that after all the inwales and outwales have been installed.  I've also now epoxied on the first two outwales, one on port and one o...

The Rogue Manual

I've posted about this earlier, but thought it might be good to post it again for anyone who may be interested. I've started to write a manual of tips and tricks for Pygmy solo kayak builders. It covers the taping method, so that your boat doesn't have hundreds of holes all over it. I'm on version 2 now. Version 2 covers several other tips and tricks from myself and from others as collected over time. ATTENTION : Use the manual at your own risk! The only person responsible for any mistakes or problems with the building of your boat is you. Always use the official Pygmy manual that came with your kit. Only do those tips and tricks that make sense to you. If something in the manual doesn't sound right to you, then don't do it! Neither I, nor Pygmy Boats, nor anyone else except YOU is responsible for the safety of your boat and the quality of your build. It's in very rough draft form right now, but if you'd like to read it, please send a $10 donat...