
In my last post I had wired and glued the Annapolis Wherry hull together. The next day was spent, and I mean the entire boat-work day, removing the $&*#ing wires! Unlike boats that are glued on the edges of the panels (kayaks for example, and the Expedition Wherry), the Annapolis Wherry uses the Lapstitch process which embeds every wire in epoxy. They ALL were a challenge to remove.
Luckily I had one trick up my sleeve that helped. You can heat the wires and they will soften the epoxy just around the wire and the wires can much more easily slip out. I use a soldering iron.

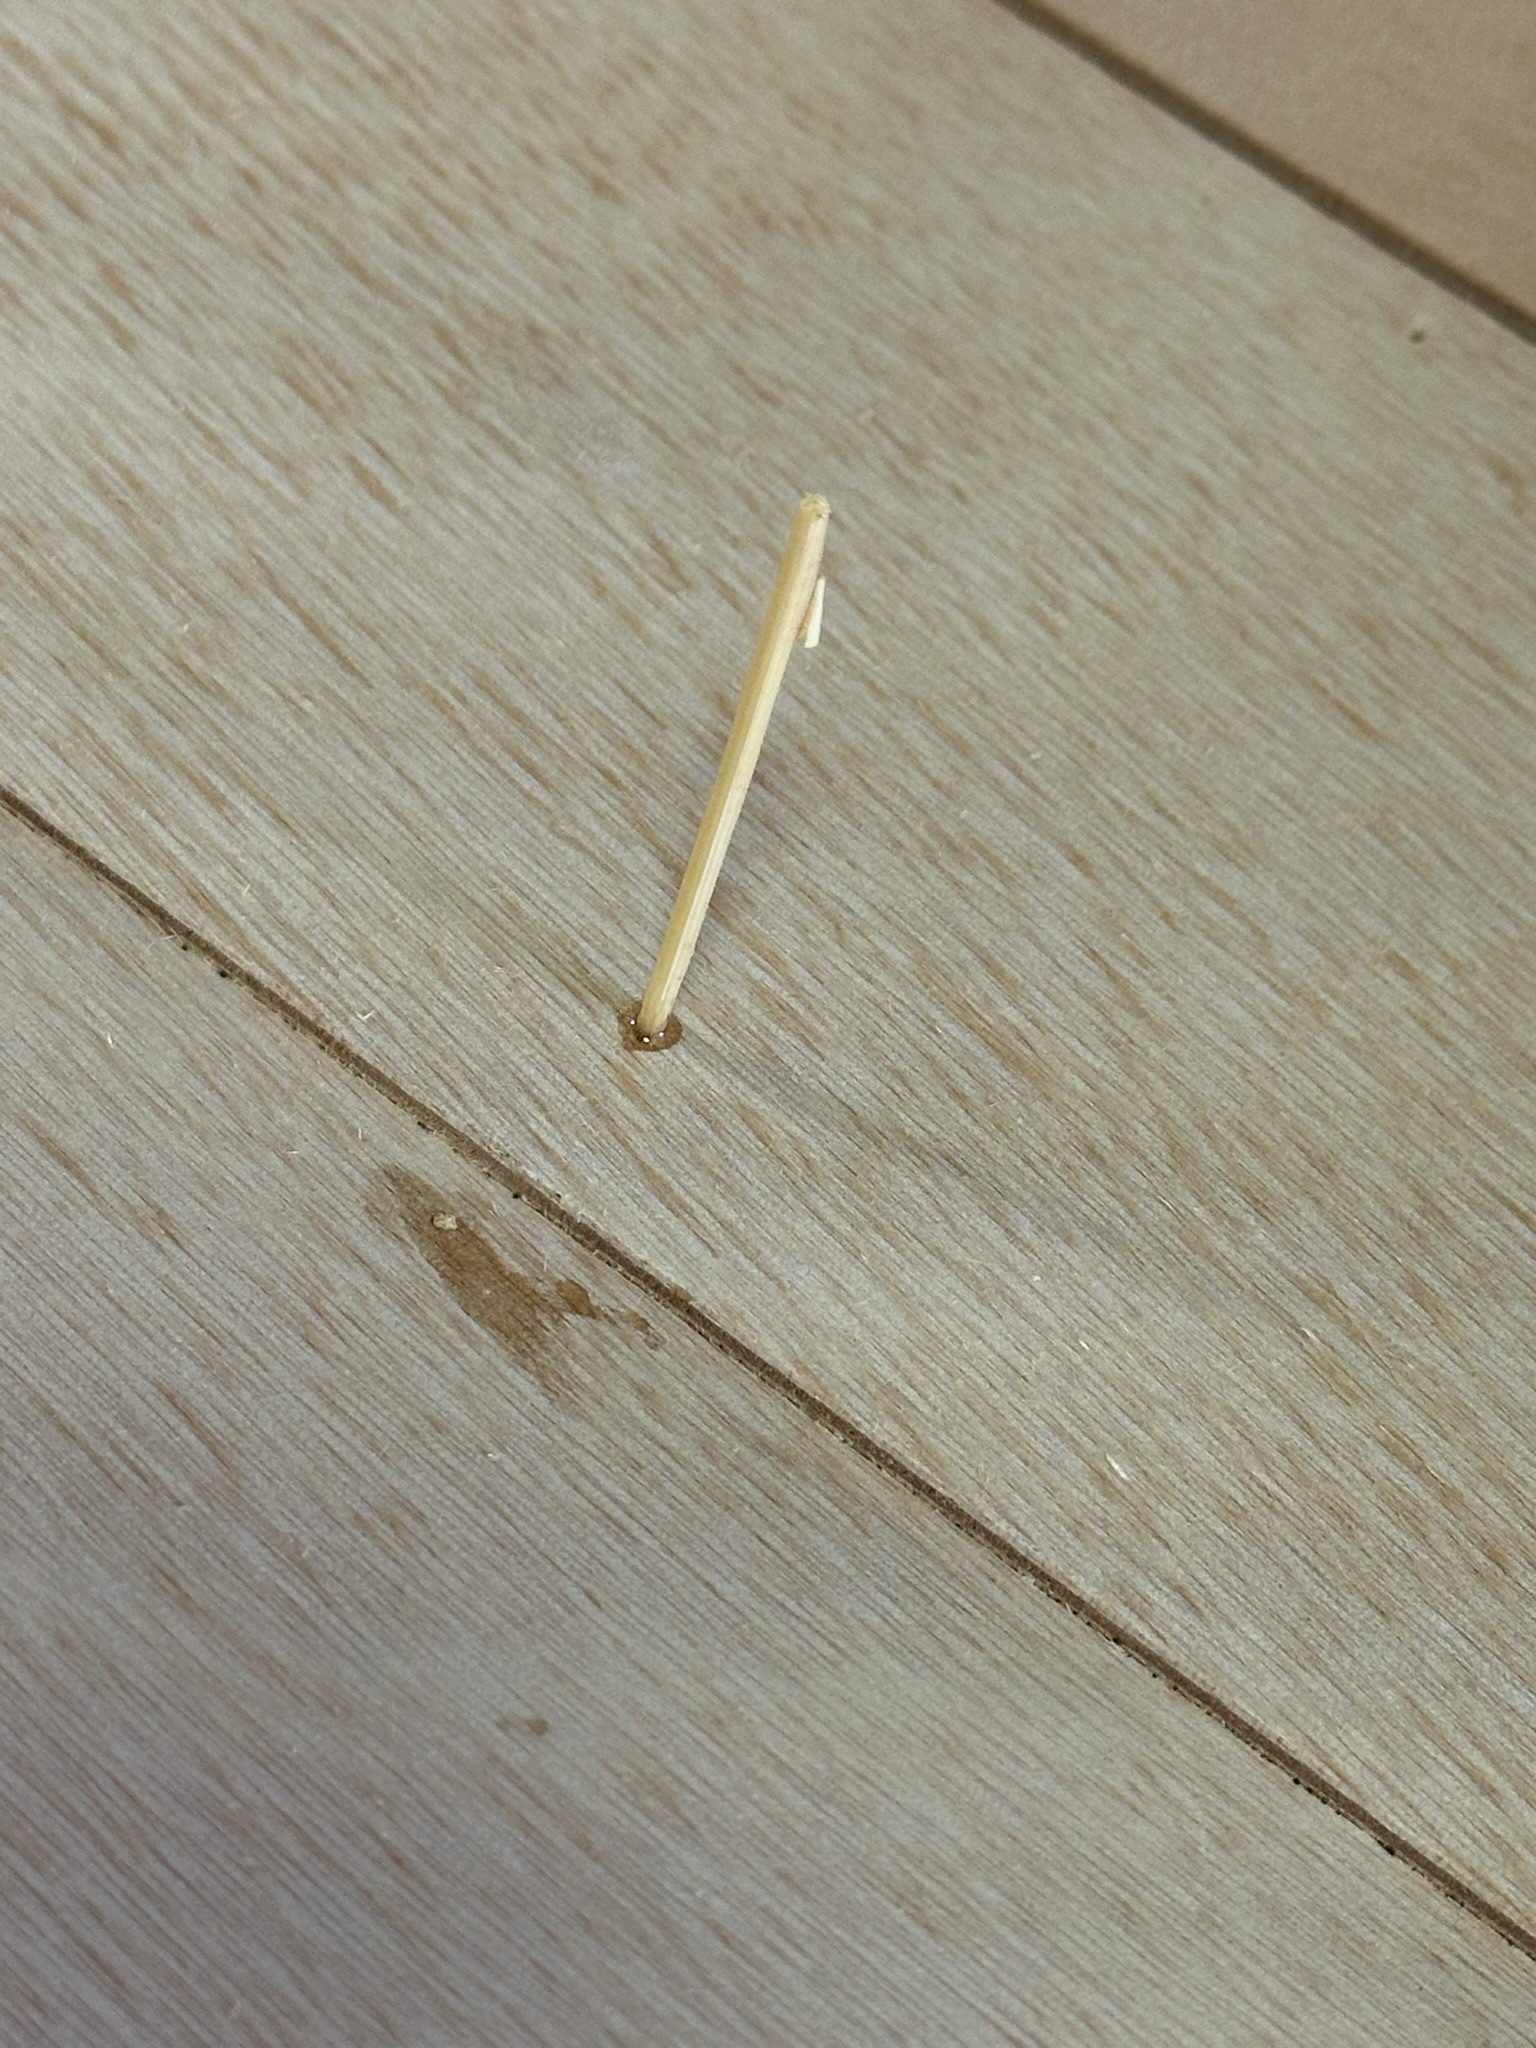
If you have a wire that just will not come out, you can hold a hot soldering iron to it and let it heat up for 20-30 seconds. Be careful not to scorch the wood! You can then generally work the wire out. In the picture above you can see me holding the soldering iron to the end of a cut wire. It easily came out even though it was embedded in epoxy.
This trick even works on the bow, stern, and bulkhead wires. The bow and stern wires came out easily, but the bulkhead wires are a real challenge. I eventually got all of them out as I prefer to remove them than bury them in an overly large fillet.
Then it was on to filling the wire holes with round toothpicks. I mixed up one pump of epoxy into a small hobby cup and then dipped the ends of the toothpick into the epoxy and then shoved it into a hole. You then snap the toothpick one way and then all the way the other way and it should snap off leaving the hole plugged.
Be sure to get ROUND toothpicks with points on both ends.

Here is how the holes look the next day after sanding them flush.

You'll still see the holes but they won't be obvious black dots all over. They're more hidden this way. It's a lot of extra work but one of those things that is worth it in the end.
Then the next day I decided to fill the seams between panels #1 and #2 to prepare for fiberglassing the interior.
The manual suggests to do this right before you fiberglass but that can lead to uneven seams and you squeegee out the epoxy into the seams and move the epoxy in the seams a bit. I prefer to do it a day or so before so that they are solid. The only downside is that you have to sand them, but that makes for an even better seam.
I ran tape approximately 1/2" outside of the seam on plank #2, and then ran thickened epoxy down each seam. I used a craft stick to squeegee out the excess.
By the way, I thickened the epoxy with one part wood flour for some color but they used the silica that comes with the kit to thicken it the rest of the way. It ended up being, I'm guessing, one part wood flour to five or six parts silica. The silica is only to tone down the dark brown of the wood flour. My seams will be much closer in color and less noticeable than if I only used wood flour. I've seem many boats that have only used wood flour and the seams are much darker than the rest of the wood.

Here you can see the lighter color of the thickened epoxy. It's one part wood flour to five or more parts silica.


Finally, the next day, I sanded the seams completely flush to plank #1. The rest of the inside of the hull got a sanding too, followed by a thorough vacuuming out of the hull.
Today I then taped the lower part of plank #3 and then spent the rest of my time cutting and fitting the fiberglass pieces. It's all ready to go for the next step tomorrow which is to fiberglass planks #1 and #2.
In the picture below you can see the cut fiberglass pieces.

Phew! That was a lot of work. Much of the work wasn't mentioned in the CLC manual. But that extra work will make for a beautiful boat.
Stay tuned!
Comments
Post a Comment