
This morning was spent doing several required jobs as part of continuing several steps. It was one of those days where you just need to do a bunch of little things here and there that slowly add up to things getting done.
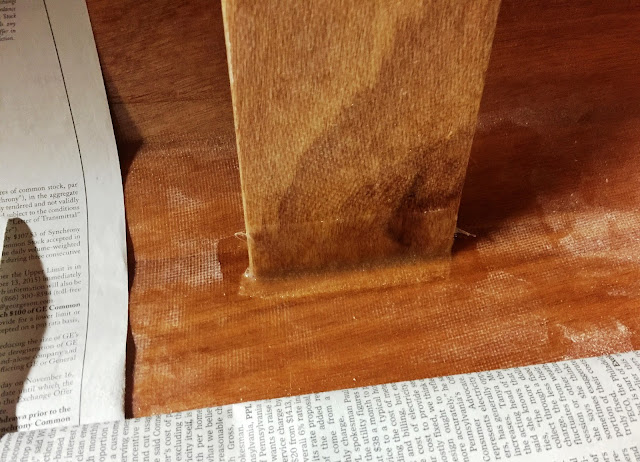
For example I removed the clamps from the hatch lips and sanded them smooth. Then I saturated the inside edges and the lips with epoxy. Finally added some fiberglass tape under the seams where the two hatch lips meet.

Later I will trim the fiberglass flush to the edge. When it's fully cured I will sand it smooth. I'll also need to sand just the tops of the hatch lips a bit so that the contact cement for the foam gaskets will stick well.
I think added a layer of fiberglass tape to the front and back seams of the cockpit. When that cures I'll sand the coaming again and then start in on the filler steps.

Next I added some thickened epoxy to the upper, hull-side of the hip braces and then wetted out some fiberglass tape to both the top and bottom. I think I still need to reinforce the hip braces more so later I'll prop the boat onto its side and add more thickened epoxy and tape. It takes a lot of stress and I want to make sure it's solidly epoxied in.
Finally I started to mark out where I'll drill the shock cording holes and the hatch webbing holes. They will be drilled later though.

So as you can see, lots was done, but nothing was 'completed'. Oh well... all things that must be done. It's slowly getting there and I actually don't have many steps left!
Peace!
For example I removed the clamps from the hatch lips and sanded them smooth. Then I saturated the inside edges and the lips with epoxy. Finally added some fiberglass tape under the seams where the two hatch lips meet.

Later I will trim the fiberglass flush to the edge. When it's fully cured I will sand it smooth. I'll also need to sand just the tops of the hatch lips a bit so that the contact cement for the foam gaskets will stick well.
I think added a layer of fiberglass tape to the front and back seams of the cockpit. When that cures I'll sand the coaming again and then start in on the filler steps.

Next I added some thickened epoxy to the upper, hull-side of the hip braces and then wetted out some fiberglass tape to both the top and bottom. I think I still need to reinforce the hip braces more so later I'll prop the boat onto its side and add more thickened epoxy and tape. It takes a lot of stress and I want to make sure it's solidly epoxied in.

Finally I started to mark out where I'll drill the shock cording holes and the hatch webbing holes. They will be drilled later though.

So as you can see, lots was done, but nothing was 'completed'. Oh well... all things that must be done. It's slowly getting there and I actually don't have many steps left!
Peace!
Comments
Post a Comment