
The new Chesapeake Light Craft Annapolis Wherry kit arrived! I picked it up at the 2024 Wooden Boat Festival in Port Townsend, WA, USA. They brought it over on their truck.
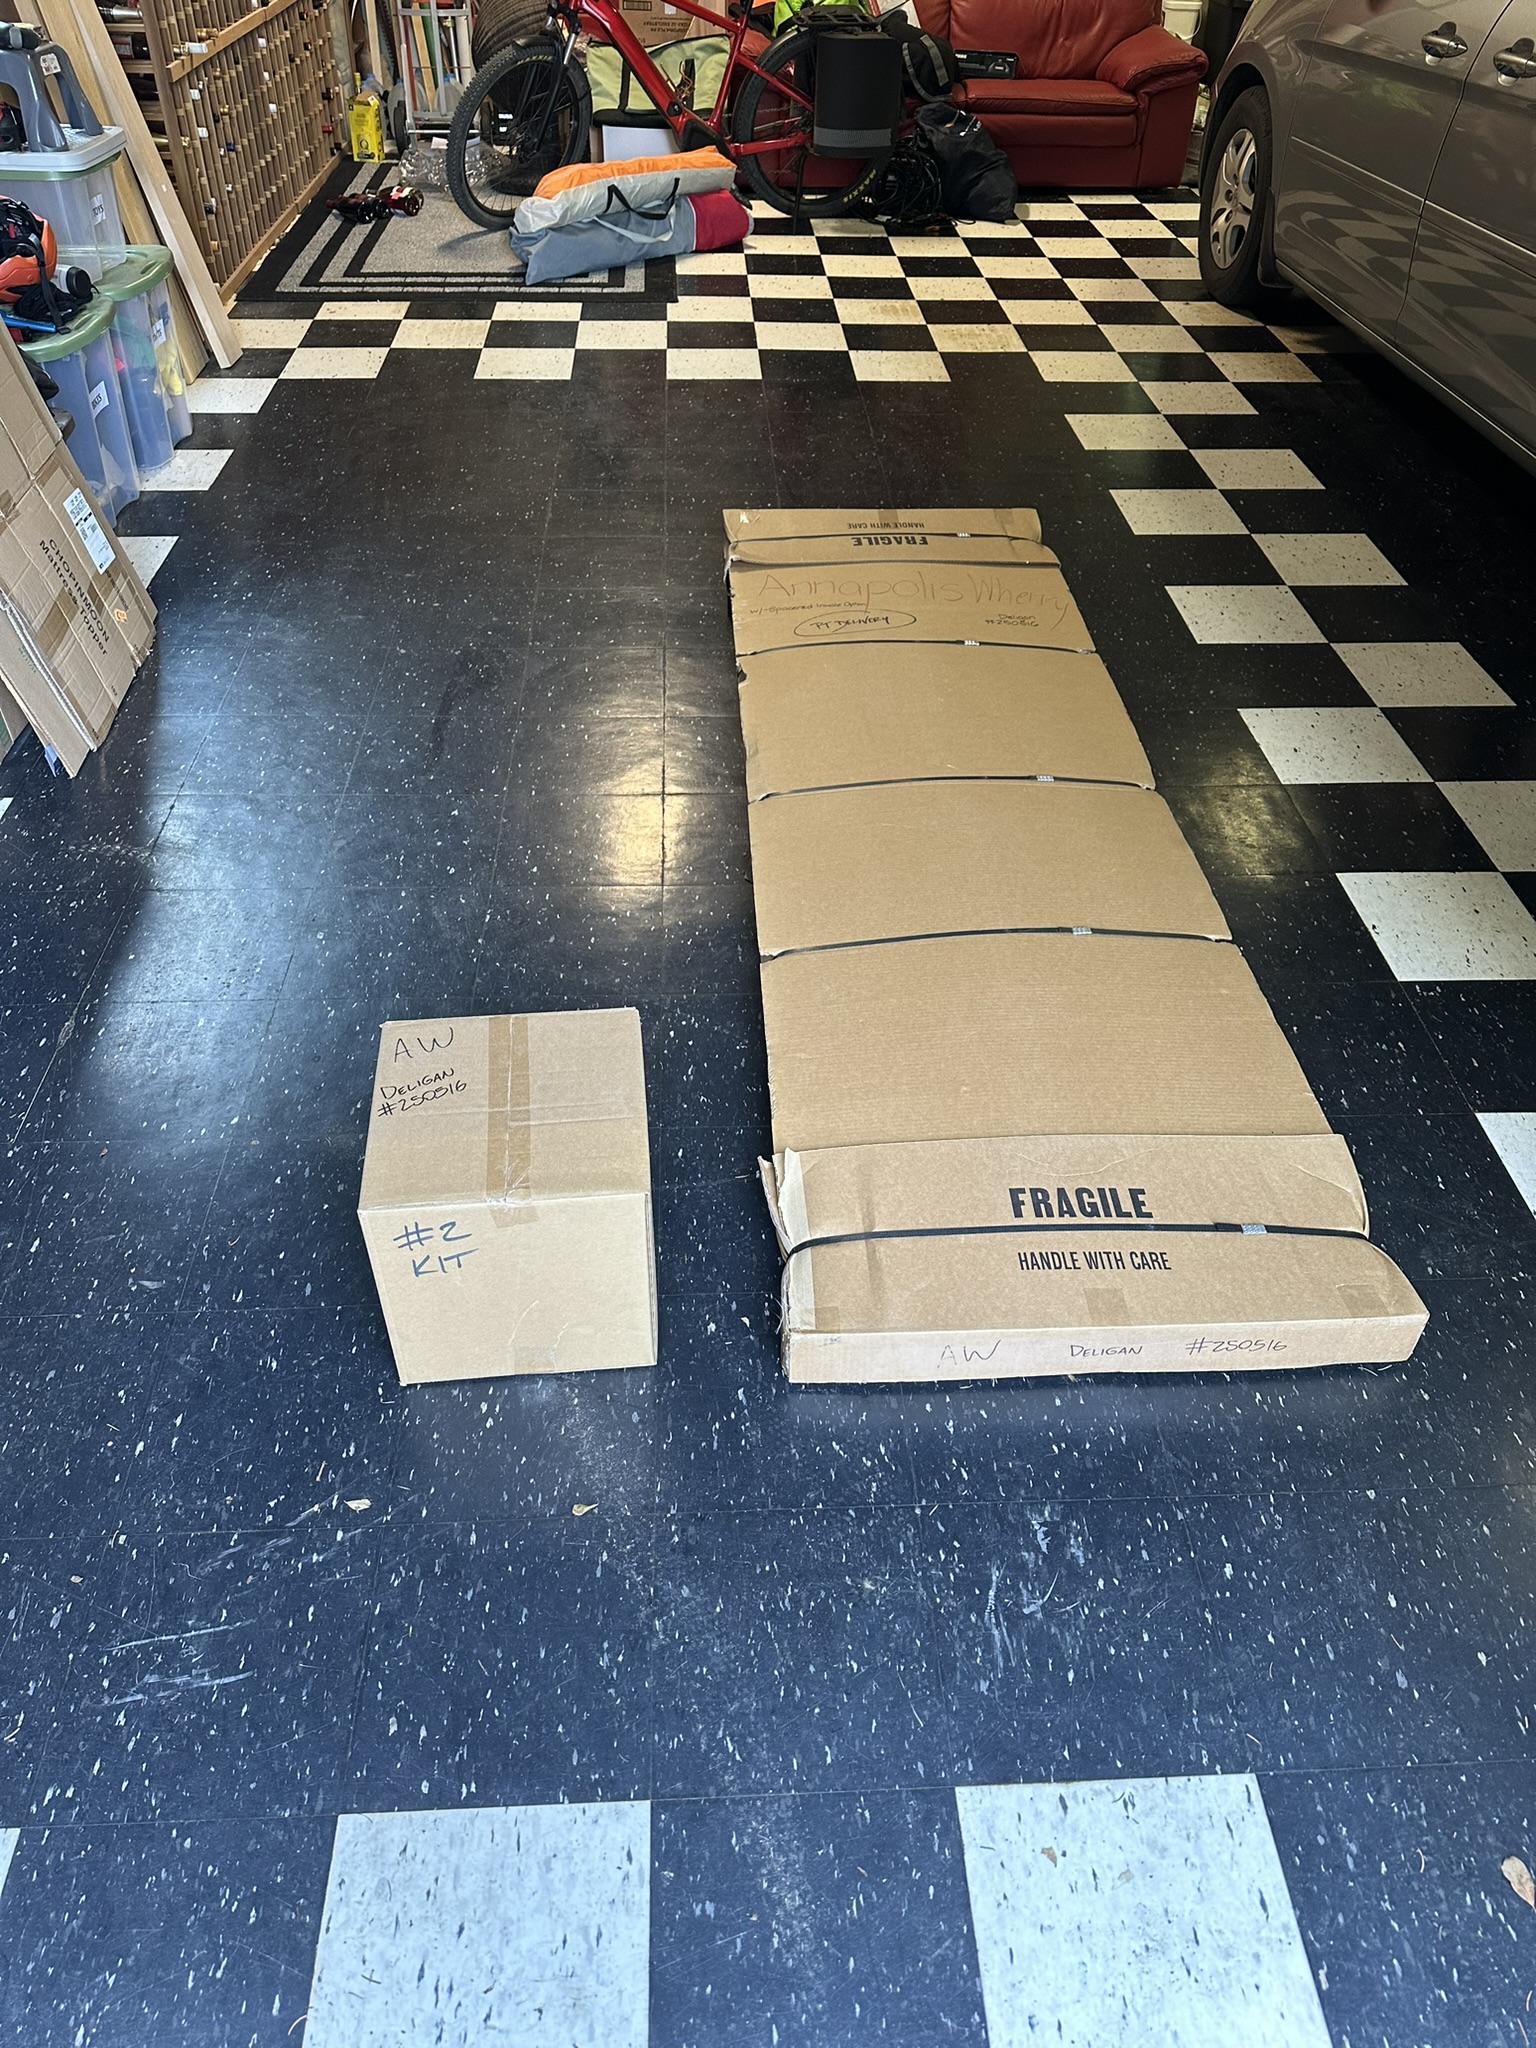
Got it home and started the unpacking process. CLC does a very nice job packing their kits. LOADS of clear tape holds everything in place. You get two boxes: A small one with the epoxy and some fillers in it, and then the large flat pack with the wood, the fiberglass, and the manuals in it.

They use MAS Epoxy. I'm more used to System Three and WEST System epoxies, and wish that CLC gave an option to use them, but MAS has worked out fine for the two builds I've done with CLC boats.


It took about 45 minutes to gently untape and sort through the flat pack. You don't want to break anything, and you really want to store the stuff in your shop/garage where it's out of the way but easy to access.
Then it was time to set up the workbench for the first part of the build. I use two sawhorses that have slots in them to hold 2" lumber on edge. I use two 16' 2 x 8's for my base. Then I have an old sheet of MDF that I ripped the longway to create two 2' x 8' panels which I set on top of the 2 x 8s.


There are other things that I do when I set up for a build like this. I always have a cardboard box under the table for garbage. You'll fill this box MANY times throughout the build. It's handy to have. I also keep the epoxies in a separate box to catch drips.
I use the cardboard from the kit to lay down on the floor as a way to catch epoxy drips and other spills.
Another box is used to store the smaller stuff: The bag of fiberglass, the hardware, the wires, etc...

Then I still had some time, so I read the manual and got to work. This is my third CLC boat and my eighth "stitch and glue" boat, so I'm fairly familiar with the process by this point. Reading the manual for the first time confirmed that there really shouldn't be too many surprises on this build, so I dove right in and started gluing up the first panels. IF THIS IS YOUR FIRST BOAT BUILD, THEN READ THE MANUAL SEVERAL TIMES BEFORE STARTING!
CLC manuals are mostly very good, but in some areas they don't help the beginner boat builder too much, especially when it comes to using epoxy! There are a LOT of tricks and tips that they don't give you. More on that in future posts when it comes to wetting out fiberglass. If this is your first build, do yourself a favor and read previous posts of mine and many others regarding using epoxy before wasting too much of it. Mixing, amounts, spreading, clamping, temperature of work area, time to cure, etc... all are things to keep in mind.
The Build Begins!
(NOTE: I already forgot to do something that I've done on previous builds, and that is to start with the LAST panels to be sewn together. If you do that, and then store your panels under your table or wherever, you then don't have to shuffle them around as much when it comes times to stitch them together. These glued-up panels are fragile and you want to move them as little as possible. I should have started with the #4 and #5 panels.)
I started by laying out the 1st and 2nd panel parts and cleaning them up with a rasp. There are small protrusions left over from the milling process that you need to remove. Then I did a dry fit for the parts to ensure that the best sides were together and colors looked okay. The #2-5 panels can only go one way, but the #1 panels can be mixed up between port & starboard. Pay attention.
I then use pieces of plastic on the table to go under each joint that will be glued so that I don't epoxy my parts to the table.
I used an acid brush (I buy them by the box of 100) and a small epoxy gluing cup that you can buy by the dozens online, and mixed up a one-pump batch of epoxy. The epoxy got brushed on the joint edges and then the joints were fitted together. Plastic then went on top of the joint and bricks were set on top to hold the joint flat.
1 pump each of resin and hardener is all you need to glue the joints of two panels. You'll have some leftover too. It's a good habit to be very economical with your epoxy. I usually end up having to buy more.

The front edge of panels #2 - 5 need to be tapered so that they will eventually fit the bow. See picture below. A few minutes with a hard sanding block is all it takes.

Bricks were used to hold the joints in place while the epoxy cured. Notice that there is plastic both underneath and on top of the glued joint. Epoxy does not stick to plastic and it easily peels off once the epoxy cures.

For the next several days I will be repeating this process until I have all ten panels glued up, sanded clean, and ready to sew together.
More later!
Comments
Post a Comment