
Today I rolled on a filler coat of epoxy over the fiberglass cloth that I did yesterday. It didn't entirely fill the weave but should be enough for me to sand pretty well. After sanding, I may add a third coat if needed but we'll see.
What I actually did was try to roll on the epoxy like the manual says, but I've never had luck with the rollers. They quickly fill with air, they don't distribute the epoxy well like a paint roller distributes paint, and they tend to fall apart and leave little foam bits on my hull. But I tried it again today... it fell apart and left too much air in the epoxy... doh!
So when I had had enough I went back to what I've typically done, which is to simply use the same yellow plastic spreader/squeegee thing that I used to wet out the fiberglass cloth yesterday. Easy.

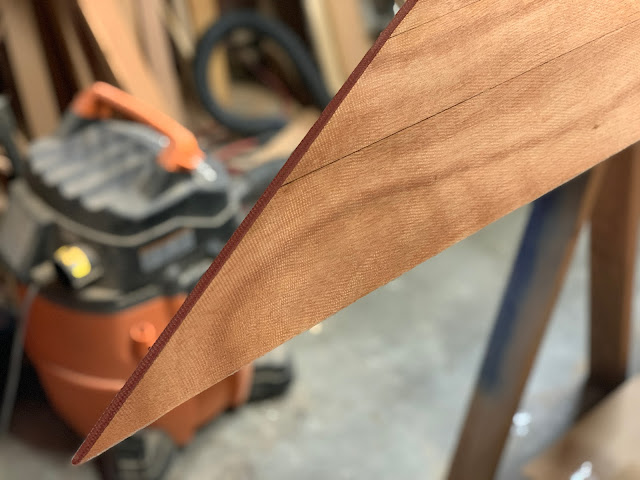
I wasn't sure if I'd like the red color of the stem fill but now I do. It's taken on a rich, darker color and it will work well. I like it so much in fact, that I may use the red phenolic powder to fill the deck seams. It would make for a cool, customized look.
Company in town for a week, so won't be doing much work on the boat. Good timing though as the hull can now cure very well for a week and then I can sand it.
Cheers!
What I actually did was try to roll on the epoxy like the manual says, but I've never had luck with the rollers. They quickly fill with air, they don't distribute the epoxy well like a paint roller distributes paint, and they tend to fall apart and leave little foam bits on my hull. But I tried it again today... it fell apart and left too much air in the epoxy... doh!
So when I had had enough I went back to what I've typically done, which is to simply use the same yellow plastic spreader/squeegee thing that I used to wet out the fiberglass cloth yesterday. Easy.

I wasn't sure if I'd like the red color of the stem fill but now I do. It's taken on a rich, darker color and it will work well. I like it so much in fact, that I may use the red phenolic powder to fill the deck seams. It would make for a cool, customized look.

Company in town for a week, so won't be doing much work on the boat. Good timing though as the hull can now cure very well for a week and then I can sand it.
Cheers!
Comments
Post a Comment