
Annapolis Wherry Seats and Thwarts Installed

This boat is for my wife, and she wanted the seats dyed. She picked a "Vintage Cherry" from General Finishes. They look great. I dyed them a couple weeks ago and have since added two coats of epoxy to all of them, sanding between coats. They're ready for varnishing. 

Today I installed them, but I'm doing it in a few steps instead of all in one shot as the manual says to do. I am first just tacking them down and using weights to keep them in place. Tomorrow I will sand those "spot welds" and then run nicer looking seams. The weights will be out of the way by then and it will be easier to make the seams without the seats moving. 

For the thwarts, I first sanded a line down the middle of the underside of the thwarts so that epoxy would stick well, and then also lightly sanded the top of the bulkhead too. A small bead of thickened epoxy was added to the top of the bulkhead and then the seats were set down on top. When cured, it will be much easier to then add the remaining fillets to the thwarts.  

PRO TIP: The manual doesn't mention this, but for the two thwarts, it is super important to have them in plane to each other so that the Piantedosi Drop-In Rowing Unit can sit evenly and distribute weight properly. I used a 4' level as a straight edge with bricks adding a bit of weight to keep the thwarts down on the bulkhead.

Here's the bow with the water jugs holding it in place while it cures.

The aft seat has a small fillet running all the way around it, but will get a more finished fillets once cured.
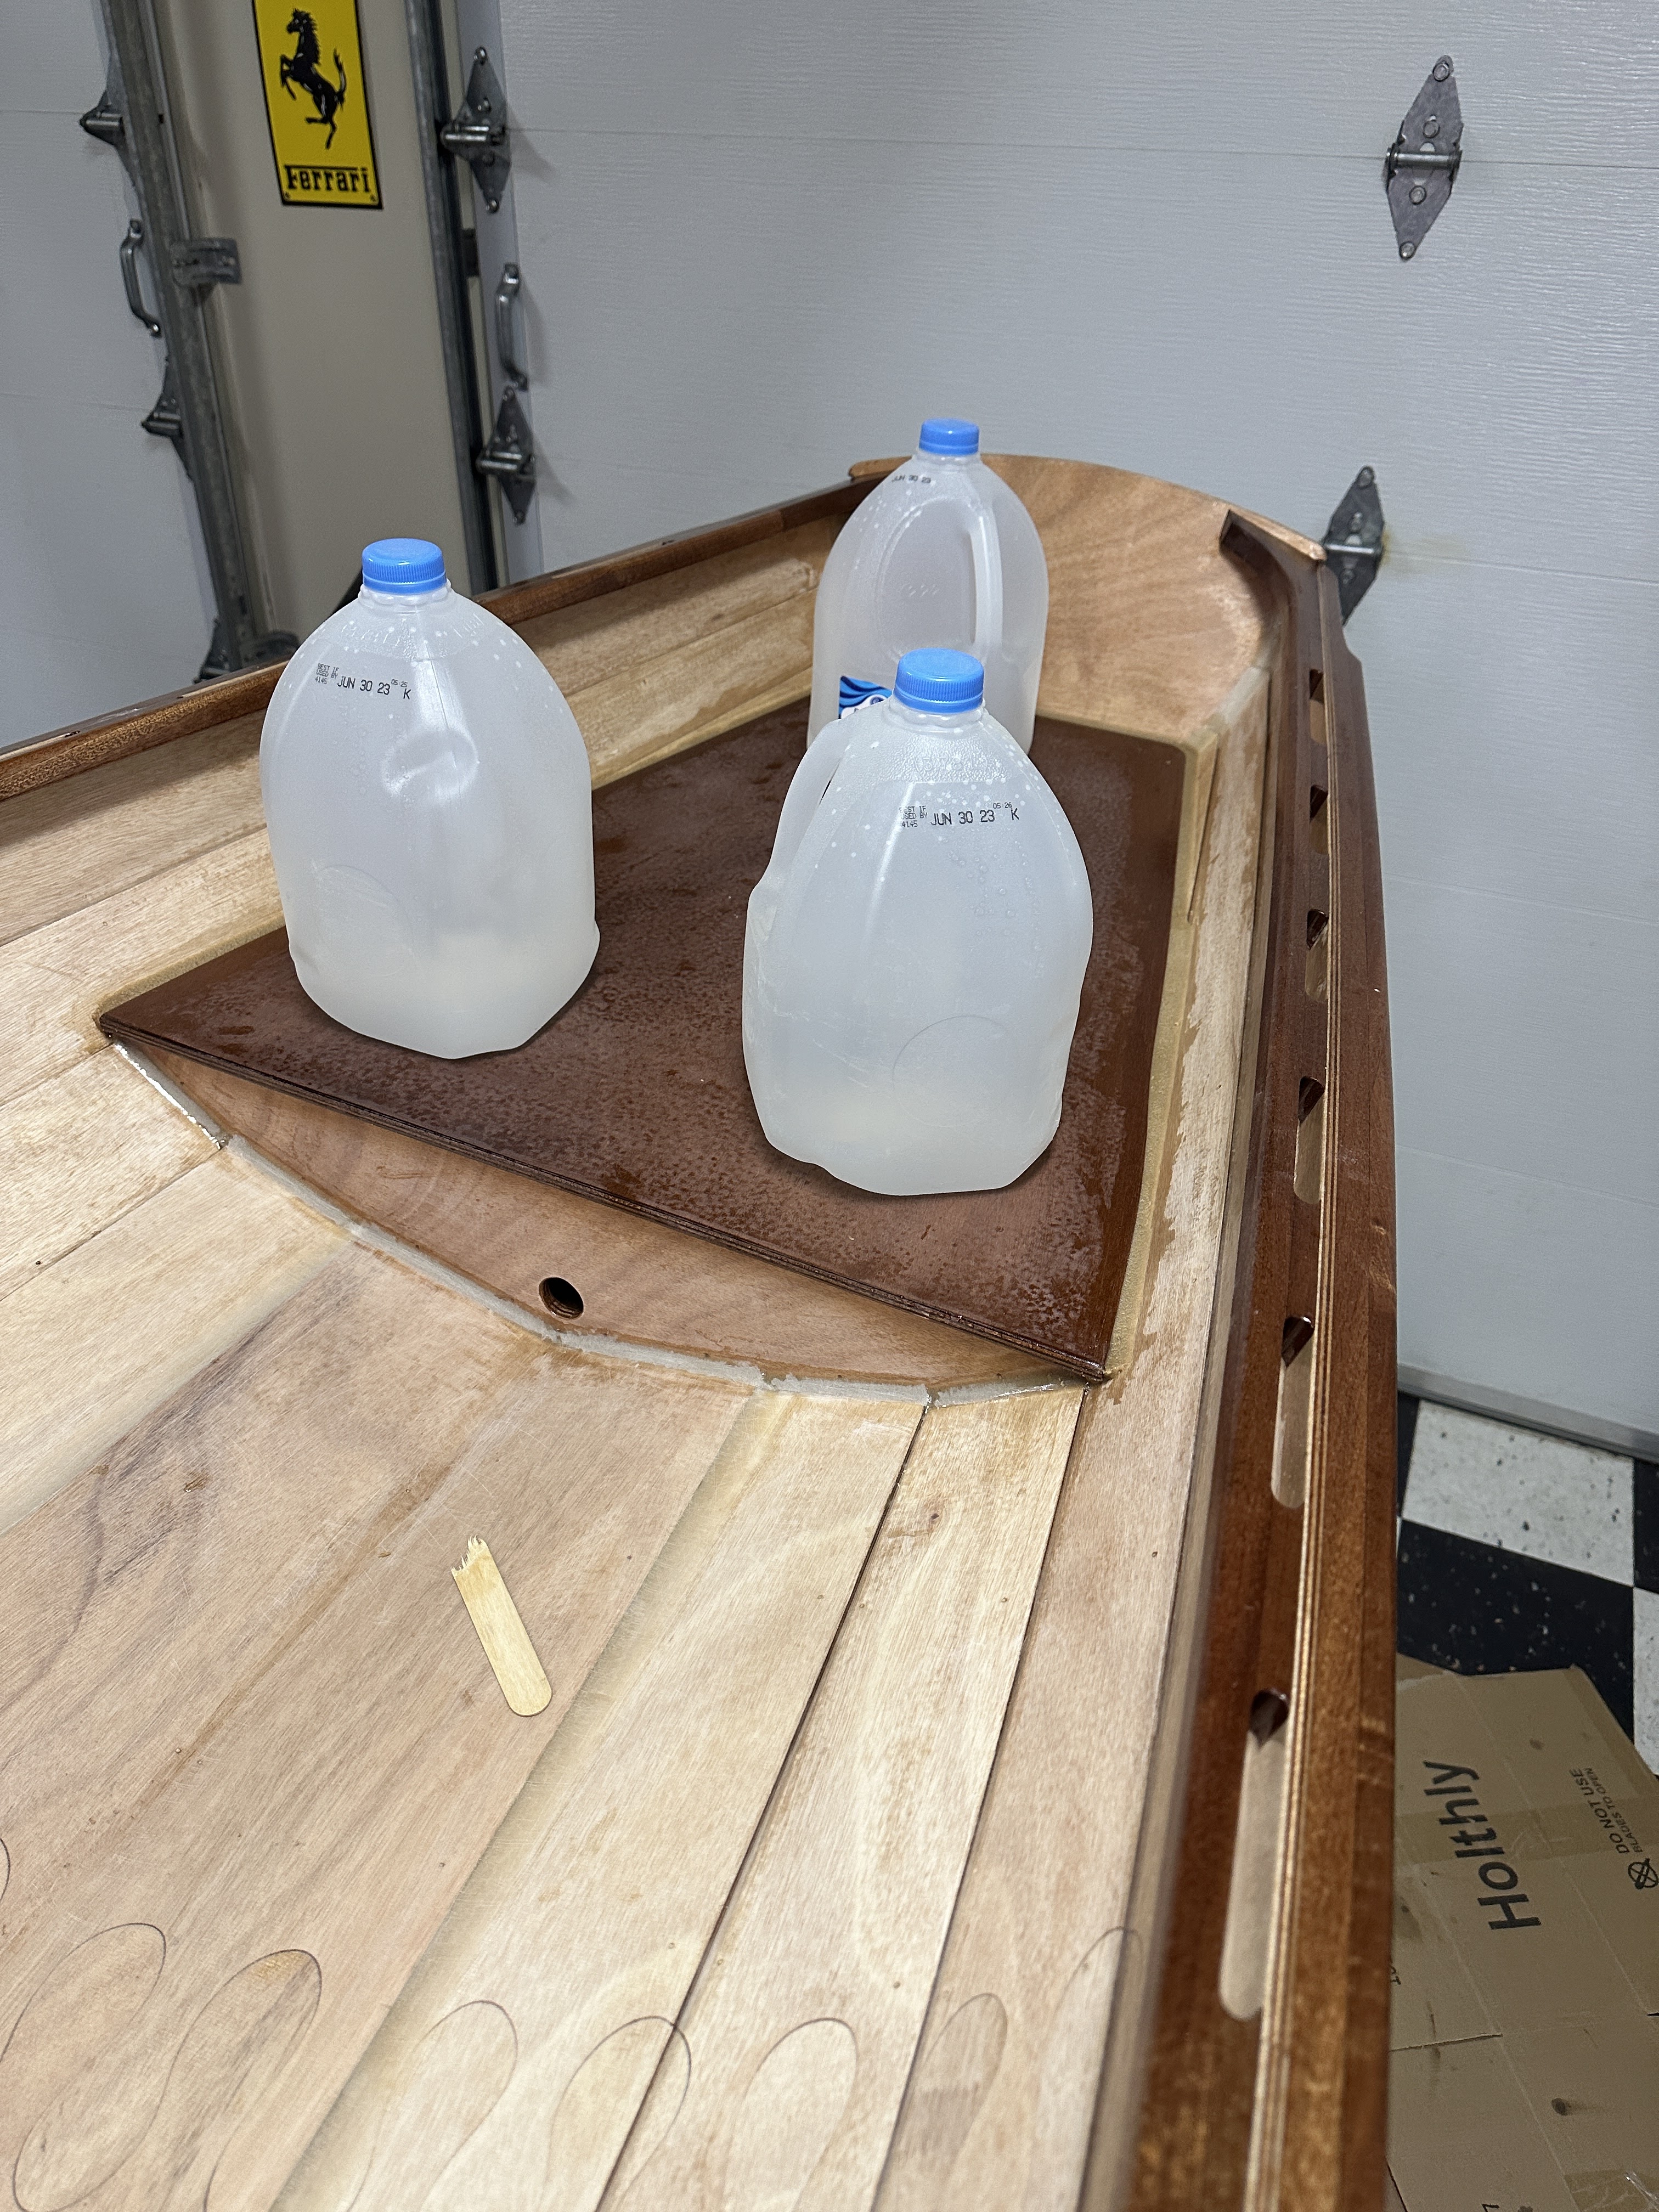

It's a bit hard to see in the picture below, but I didn't run the seams all the way yet for the forward seat. I used thickened epoxy at the top of the bulkhead, at the bow, and then in a couple of spots between the bow and bulkhead. This will firmly hold the seat in place and when cured will be much easier to run the full fillets.


Stay tuned!!

Comments

Popular posts from this blog

The Rogue Manual

I've posted about this earlier, but thought it might be good to post it again for anyone who may be interested. I've started to write a manual of tips and tricks for Pygmy solo kayak builders. It covers the taping method, so that your boat doesn't have hundreds of holes all over it. I'm on version 2 now. Version 2 covers several other tips and tricks from myself and from others as collected over time. ATTENTION : Use the manual at your own risk! The only person responsible for any mistakes or problems with the building of your boat is you. Always use the official Pygmy manual that came with your kit. Only do those tips and tricks that make sense to you. If something in the manual doesn't sound right to you, then don't do it! Neither I, nor Pygmy Boats, nor anyone else except YOU is responsible for the safety of your boat and the quality of your build. It's in very rough draft form right now, but if you'd like to read it, please send a $10 donat...

The Pygmy Pinguino 145 Kayak is Completed!

Ta Da! I finally finished it. Haven't been able to blog much about it, but here's how it looks... It has four coats of varnish on both the hull and deck. It probably should have had six or more, but I'm tired. I made my own padeyes, and I opted to not install a perimeter line yet. My friend who I built this for is a very casual user and this is probably sufficient for her, but perimeter lines would be a nice safety feature though. That's it! Until next time, I'm signing out for now.... Cheers!

Fin Box Installed, Board Sanded, and Bottom Gloss Coat - Part 7

The Grain Surfboards Waterlog surfboard has now had the fin box installed, the entire board has been sanded, and the bottom has received its gloss coat. Lots of progress since my last post.  I bought a Fins Unlimited Performance fin. No idea if that was a good idea or not, but it looks cool.     In my last post I had installed the vent plug and the leash cup. Since then I routed out the trench for the fin box and installed it. It went easier than I expected but I was nervous routing the trench.  Before installing the blocking for the fin box a few weeks ago, I drilled two marker holes for where the fin box would go so that I could easily see where to install it when I finally got to this point. I felt better about doing this than using measurements from the tail that might change somewhat during shaping. See the pictures below and you can make out the two holes fore and aft of the box layout.   I taped off the area and then carefully measured out fro...